
Minimally Invasive Veneers Staten Island: 7 Benefits
August 2, 2026Composite Bonding vs. Porcelain Veneers: Which Fits Your Smile?
November 15, 2026By Dr. Gregory J. Balaes, DMD | Remedy Dentistry, Staten Island
What makes a porcelain veneer look like a real tooth?
The answer lies in details that are easy to overlook: how light travels through the porcelain, how the surface reflects it, how the edges are shaped, and how each tooth fits into the face.
Natural teeth have depth, subtle color transitions, and individual character. Creating that appearance with feldspathic veneers requires careful coordination between the dentist and the dental ceramist. The goal is a smile that feels believable in conversation, in photographs, and in everyday light.
1. Optical Properties: Creating Depth Through Porcelain Layering
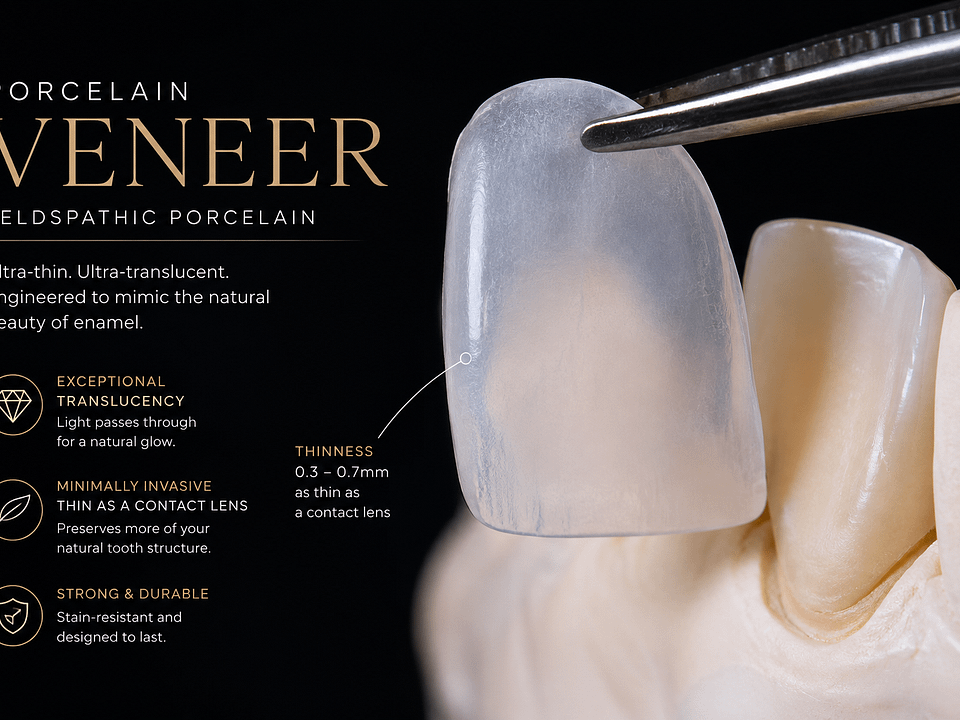
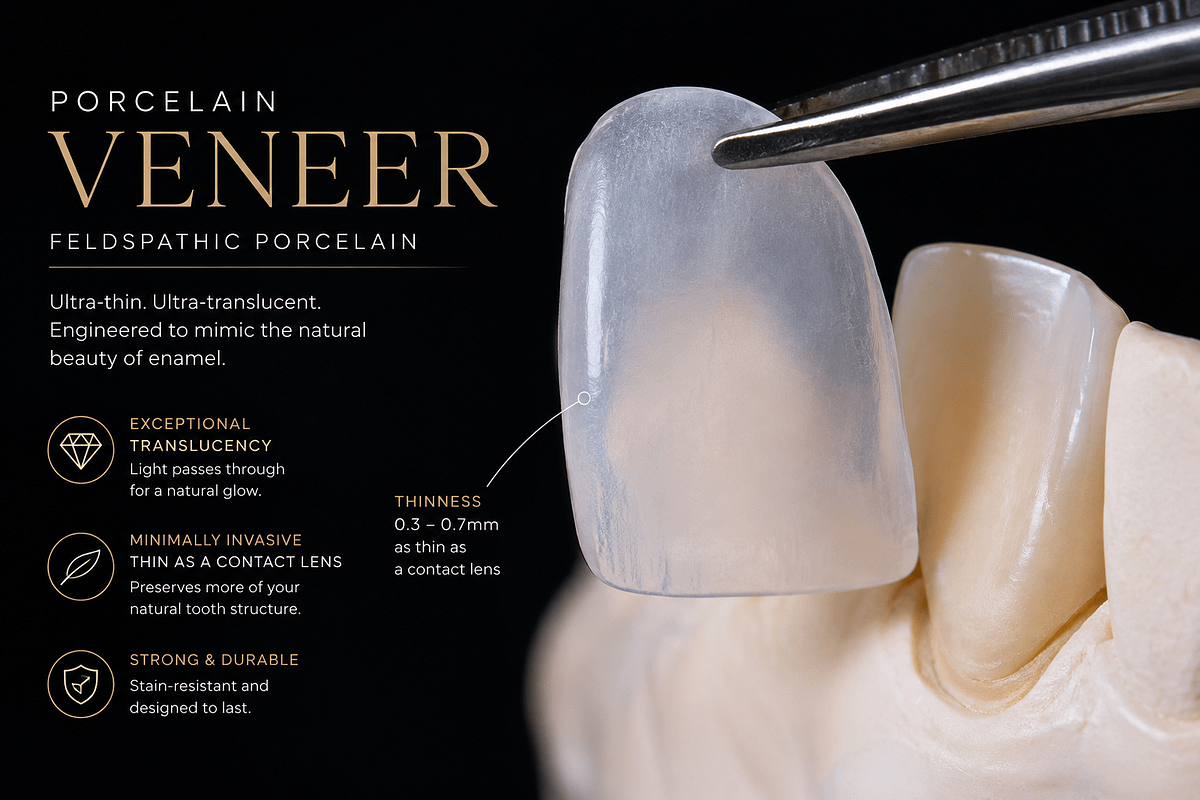
Feldspathic porcelain allows a ceramist to build fine layers with different colors, opacities, and translucencies. These layers can reproduce the relationship between translucent enamel and the more opaque, warmer dentin beneath it.
Value, hue, and chroma
Three qualities guide tooth color:
- Value is how light or dark a tooth appears.
- Hue is its underlying color family.
- Chroma is the intensity or saturation of that color.
Value deserves particular attention. A veneer that is excessively bright and opaque may look chalky, while one with insufficient brightness can appear gray. A very white smile can still look natural when its brightness is balanced with depth and appropriate translucency.
Natural teeth also vary in color from the gumline to the biting edge. The cervical third—the area near the gums—often shows greater warmth because the enamel is thinner and the underlying dentin contributes more strongly to the appearance. Reproducing a subtle transition helps avoid a flat, uniform result.
Incisal translucency and the halo
Near the biting edge, enamel may extend beyond the underlying dentin. This creates areas where light passes through more readily. The entire incisal third is not necessarily composed of enamel alone; the pattern varies with anatomy and wear.
Enamel also has opalescence: it can appear slightly blue in reflected light and warmer when light passes through it. Carefully selected porcelains can reproduce aspects of this effect without making the edge look excessively blue or gray. [1]
A delicate incisal halo, or brighter rim at the biting edge, can add definition. Its appearance relates to the interaction of light with the enamel’s structure and edge geometry. In porcelain, the ceramist can reproduce this detail with controlled contouring and material placement. The halo should complement the tooth rather than become an obvious white stripe. [2]
Mamelons and internal character
Subtle dentin projections called mamelons may be visible beneath translucent enamel. Recreating their soft, irregular pattern adds internal depth.
Other features, such as faint white accents or delicate craze-line effects, may be appropriate when matching neighboring teeth. These details should reflect the patient’s preferences and natural dentition. A clean, bright smile does not need visible imperfections to look authentic.
The tooth underneath matters
The final shade comes from the combination of the porcelain, the underlying tooth, and the bonding cement. Research on feldspathic porcelain confirms that ceramic thickness and cement shade can change both color and translucency. [3]
Thin veneers—sometimes approximately 0.3–0.7 mm in selected areas and cases—allow more influence from the underlying tooth. The dentist therefore communicates the tooth’s substrate shade, sometimes called its stump shade, to the laboratory.
A dark tooth may require carefully controlled masking, additional ceramic thickness, or a different treatment approach. Cement can fine-tune the result, but it cannot reliably correct every shade mismatch. The masking plan should be established before the final veneers are fabricated.
2. Surface Texture: Controlling How Light Reflects
Even beautifully layered porcelain can look artificial if its surface does not resemble enamel.
Developmental lobes and subtle contours
Natural front teeth often show three gentle vertical facial lobes, separated by shallow depressions. These larger contours create changing highlights and shadows across the tooth.
In veneer fabrication, the ceramist shapes these features to control the reflective surface. Excessively flat porcelain can look lifeless; exaggerated ridges can look sculpted. The appropriate amount of contour depends on the surrounding teeth and the intended appearance.
Fine enamel texture
Young or less-worn enamel may show fine horizontal features known as perikymata. These become less pronounced with wear.
Reproducing subtle surface detail helps porcelain interact with light in a more natural way. The texture should suit the patient: pronounced youthful texture may look out of place beside smoother, mature enamel.
The right degree of gloss
Surface texture and gloss work together. A highly uniform, mirror-like finish can draw attention to a restoration, while an overly dull finish can make it look lifeless.
Careful finishing balances the highlights across raised areas and shallow depressions. This is controlled surface anatomy with an appropriately smooth, polished or glazed finish—not a reason to leave porcelain rough. [4]
3. Tooth Shape: Proportions, Line Angles, and Gumline Harmony
Color attracts attention, but shape determines how naturally a veneer belongs in the smile.
Width-to-length proportions
For the upper central incisors, a width-to-length ratio around 75%–80% is a commonly used starting point. For example, a tooth 8 mm wide and 10 mm long has an 80% ratio.
This is a design guide rather than a universal ideal. Studies of esthetic preferences have identified attractive proportions outside that range, including approximately 85%. Facial features, tooth outline, neighboring teeth, and patient preference all influence the result. [5][6]
A broader tooth may look strong and substantial; a narrower tooth may appear more elongated. The aim is a proportion that fits the individual.
Line angles and apparent width
Transitional line angles are the areas where the front surface of a tooth turns toward its sides. They frame the central reflective surface and strongly influence perceived width.
Bringing the line angles closer together can make a tooth appear narrower without substantially changing its overall dimensions. Moving them farther apart can create a broader appearance.
These small adjustments help the ceramist refine symmetry while preserving natural variation.
Incisal embrasures
The small spaces between neighboring biting edges are called incisal embrasures. They generally become more pronounced from the central incisors toward the canines.
Their size and shape help separate individual teeth visually. If every edge has the same length and every corner is identical, the smile can appear repetitive. Thoughtful variation creates a more natural progression.
Emergence profile and gingival zenith
The emergence profile describes how the tooth or restoration transitions out of the gumline. A veneer should have a smooth, appropriate contour in this area. Excessive bulk can compromise both appearance and cleanability.
The gingival zenith is the most apical point of the gum margin—the highest point around an upper front tooth. On central incisors, it is commonly positioned slightly toward the back of the dental arch from the tooth’s centerline. Canine positions vary and may lie closer to the centerline. [7]
Respecting this anatomy helps create a natural gumline. Veneer contours and existing gum architecture must be evaluated together.
4. Facial Integration: Designing the Whole Smile
An individual veneer can be beautifully made yet feel out of place if the overall smile does not suit the face.
The smile arc is the curve formed by the upper biting edges in relation to the lower lip. A curve that follows the lower lip often creates a harmonious appearance. Edge position should also account for the patient’s bite, speech, and tooth display at rest.
Buccal corridors are the darker spaces between the side teeth and the corners of the mouth. Some darkness is normal. Carefully planned changes to visible premolar contours can make a smile appear fuller, but veneers do not expand the underlying dental arch. Adding excessive bulk simply to eliminate every dark space can create an unnatural result.
The dental midline and smile cant influence balance. The central incisors are assessed against the facial midline, while the tilt of the smile is evaluated using facial reference points, including the eyes and lips. Natural facial asymmetry makes these relationships more nuanced than a single measurement.
These principles guide an individualized design; they are not rigid rules requiring every smile to look identical. [8]
5. Turning the Design Into Finished Veneers
Successful fabrication depends on communication. Photographs, digital scans, shade records, and a clear discussion of the desired appearance help the dentist and ceramist translate a plan into porcelain.
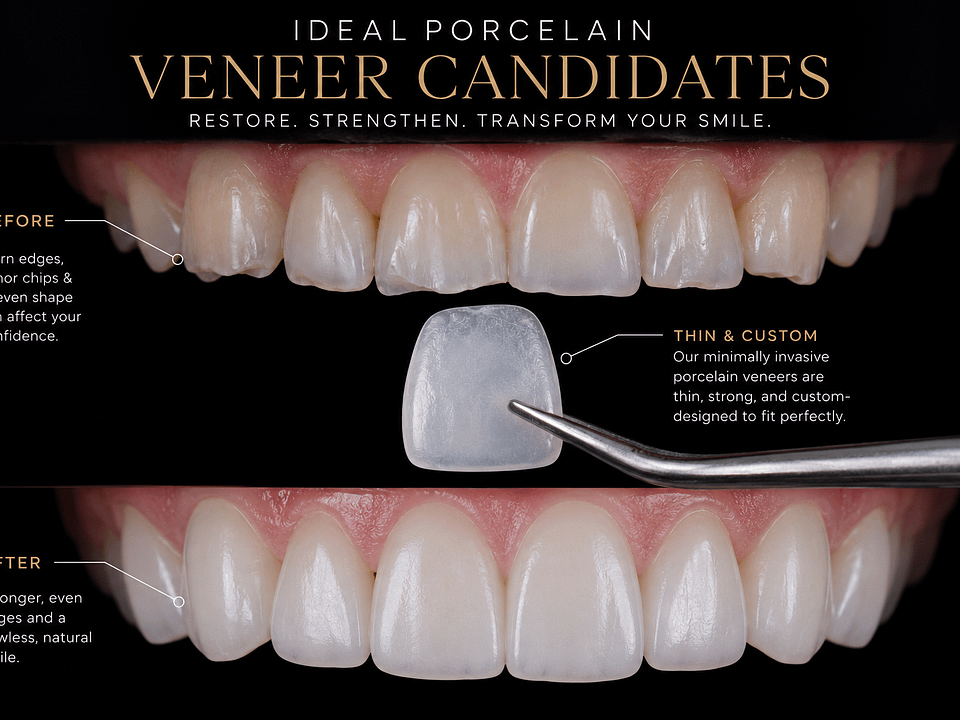
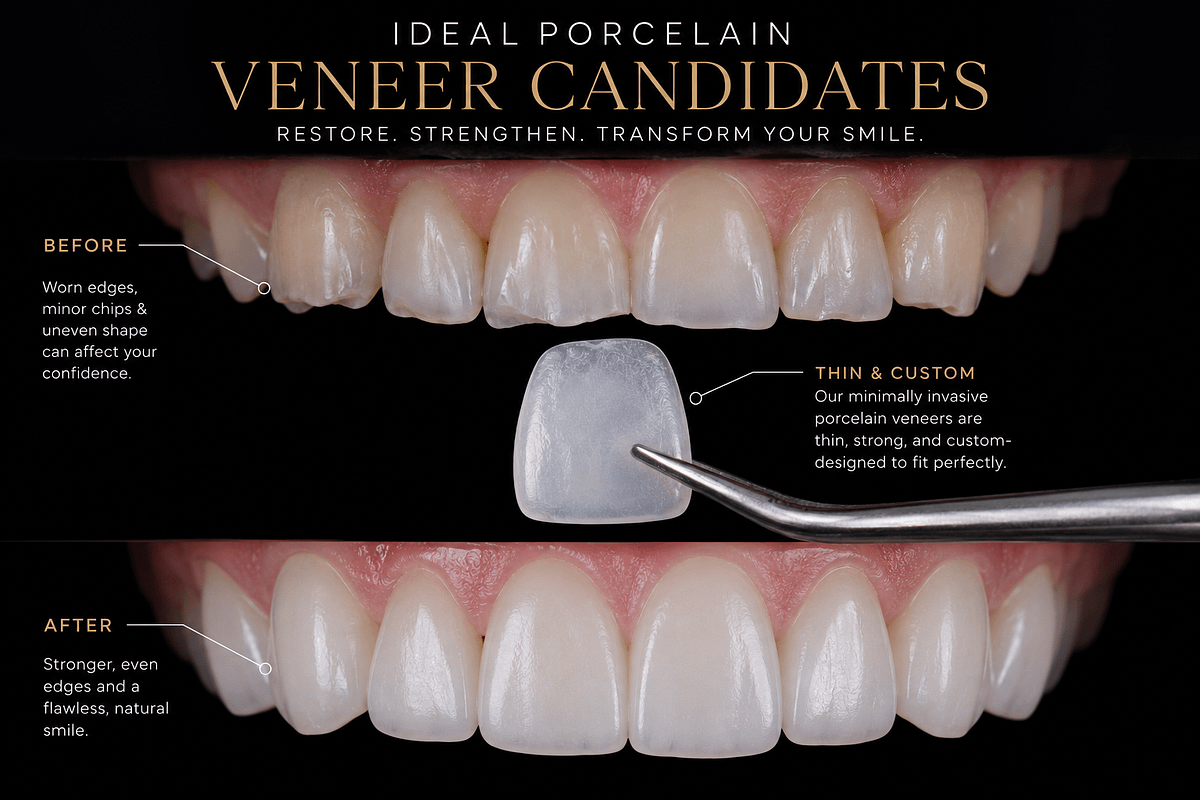
At Remedy Dentistry in Staten Island, digital smile planning and, for suitable cases, a 3D Plan & Trial Smile allow patients to discuss proposed tooth shape, length, and proportions before final restorations are made. A trial smile is a prototype; its material does not reproduce every optical detail of the finished ceramic. [9]
The final design must also respect tooth structure, gum health, and the bite. Feldspathic porcelain is one material option, and its suitability depends on the individual case.
A natural-looking result comes from getting many small decisions right: the brightness, the translucent edge, the surface highlights, the gumline transition, and the relationship of the teeth to the face.
Considering porcelain veneers in Staten Island? Schedule a consultation with Remedy Dentistry to discuss the shape, shade, and smile design that fit your goals.
References
- Opalescence of all-ceramic core and veneer materials.
- VITA: Ceramic characterization and incisal halo effects.
- Porcelain thickness and cement shade effects on the colour and translucency of porcelain veneering materials.
- Achieving natural-looking morphology and surface textures in anterior ceramic fixed rehabilitations.
- The influence of maxillary central incisor height-to-width ratio on perceived smile aesthetics.
- Width/Length Ratio in Maxillary Anterior Teeth: Comparative Study of Esthetic Preferences among Professionals and Laypersons.
- A quantitative evaluation of the distal displacement of the gingival zenith in the maxillary anterior teeth.
- Smile Analysis and Esthetic Design: “In the Zone”.
- Remedy Dentistry: Smile planning and the Trial Smile.